


Entering a Case Note #
1. Begin on your Client Workspace and find the client you would like to record the Case Note for in the system.
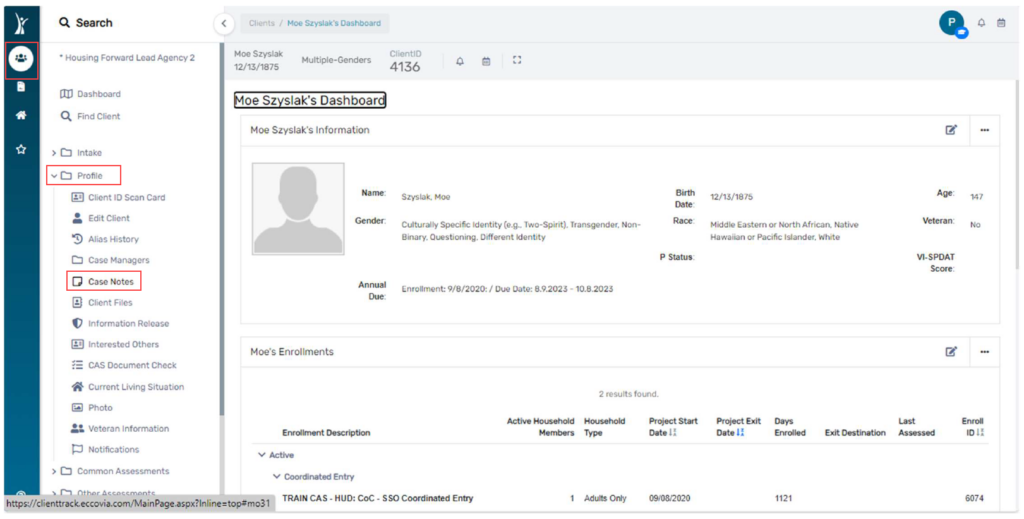
2. From the Clients workspace, Select Profile from the menu on the left and then Case Notes from the submenu:
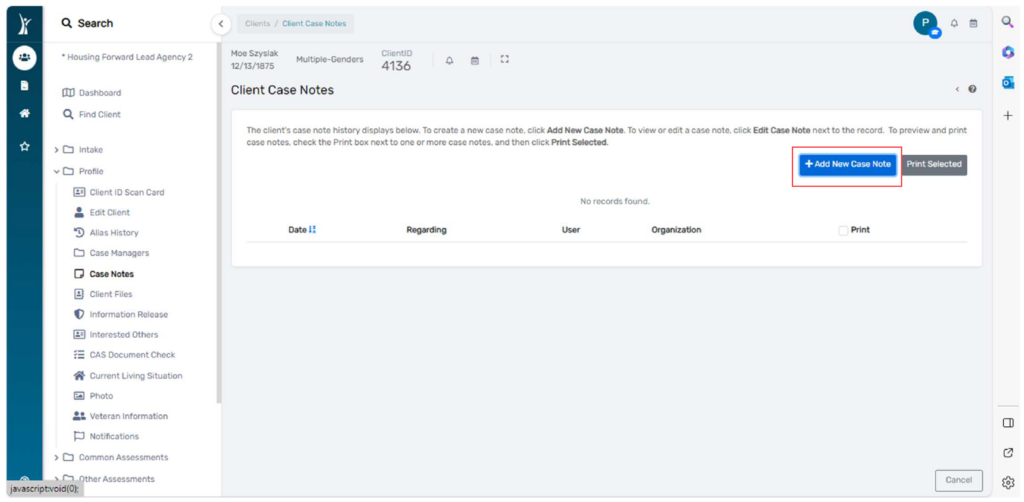
3. On the Case Notes page, click the Add New Case Note button.
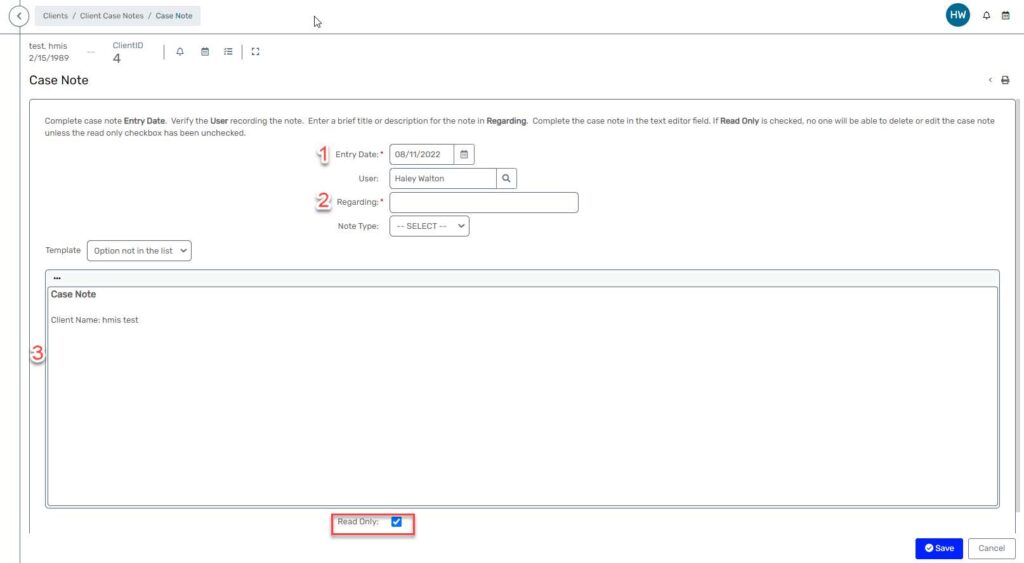
4. Enter a date (1) and a title (2) for the case note. Record your case note (3). Be sure to check the Read Only box (4) to make the case note printable and unable to be edited by others. If a case note should be removed, be sure to uncheck the “Read Only” box.
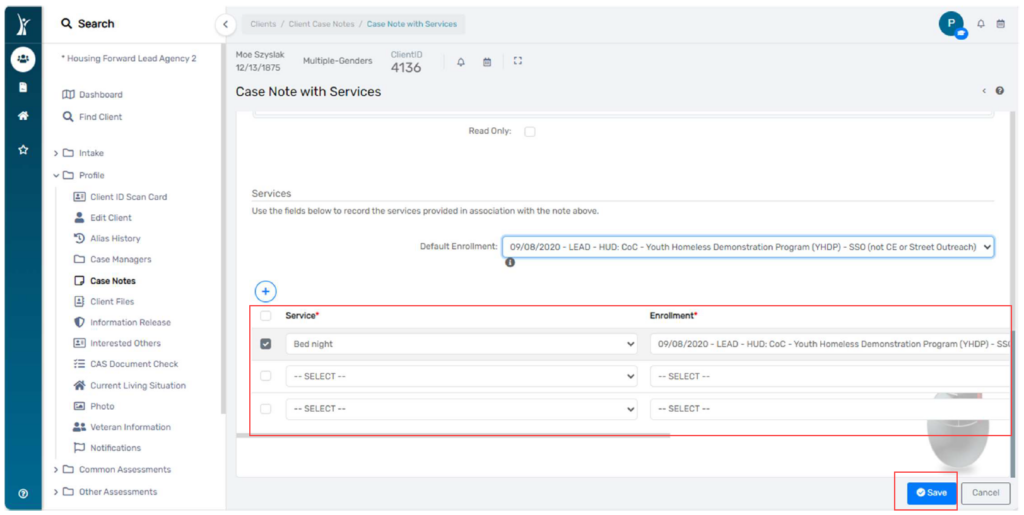
5. Enter service information and the enrollment to which you’d like this case note to
attach. If you want to default the enrollment fields to a specific enrollment, select that enrollment in the Default Enrollment field before adding service information:
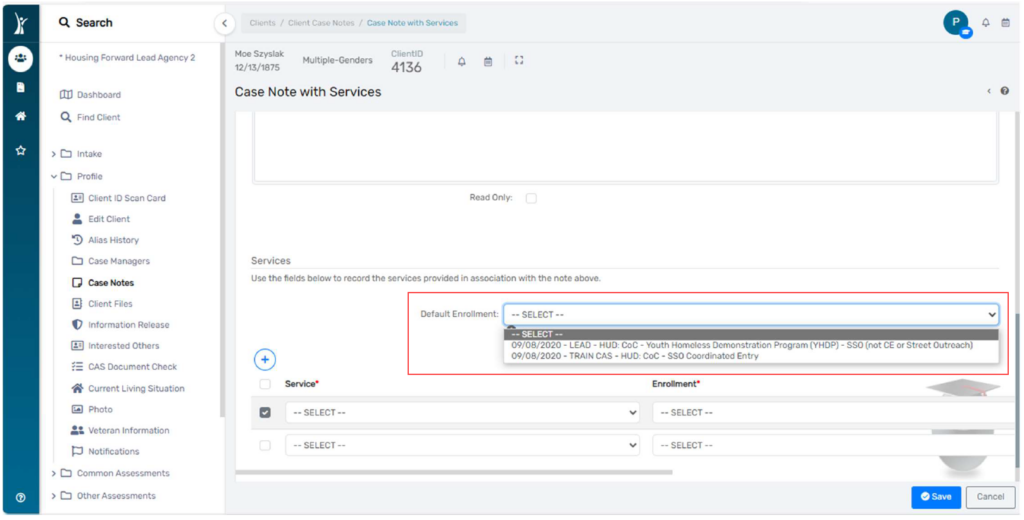
6. Select your services from the drop-down fields below. Click Save when you are done:
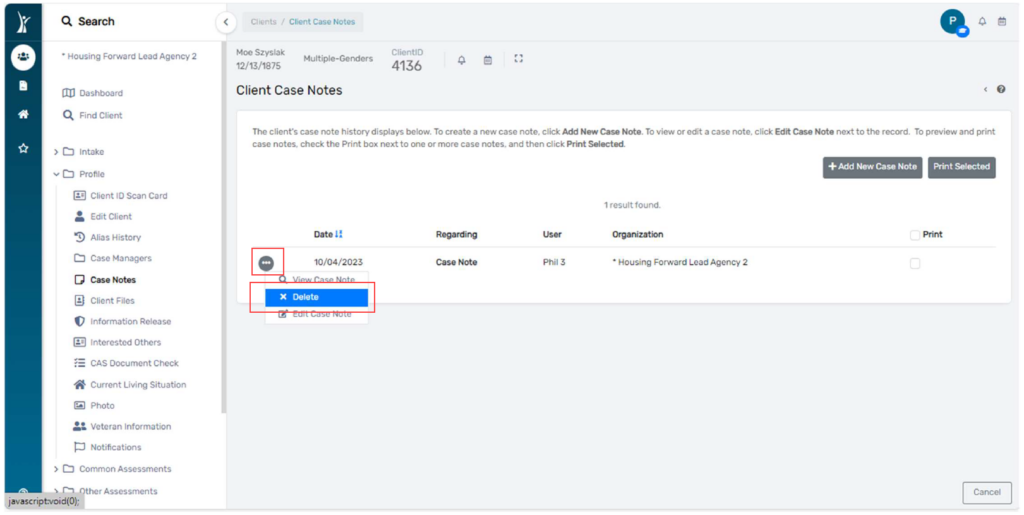
Deleting A Case Note #
- Click the action button to the left of your case note and select Delete:
2. In the pop-up window, select from the drop-down “Delete” and click Save.
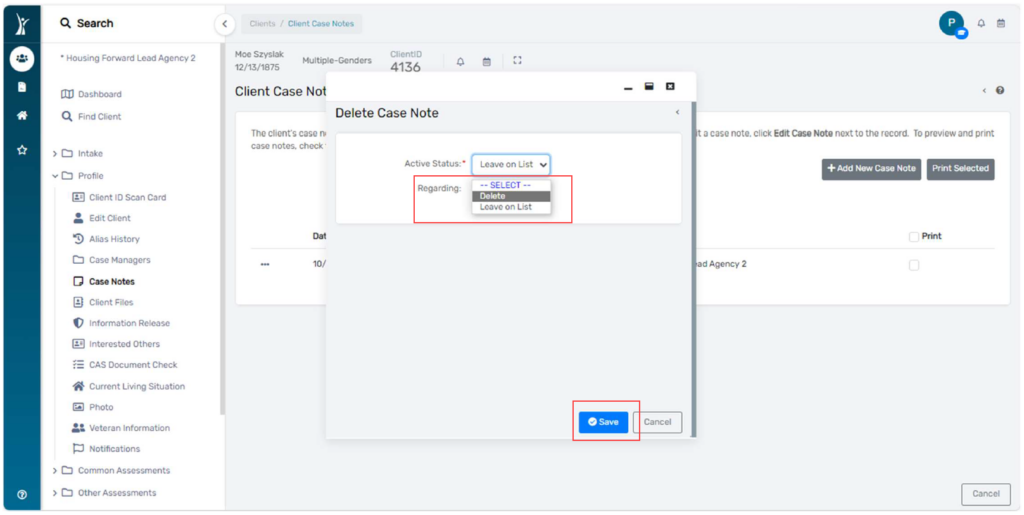
3. Click the “x” at the top right to close this pop-up window:
