4. In the menu on the left, click Coordinated Access System (CAS).
5. Select CAS & Diversion Intake.
NOTE: Once you see the Workflow Progress Bar, it is advised that you continue the entire workflow until you click “Finish” to close the workflow.
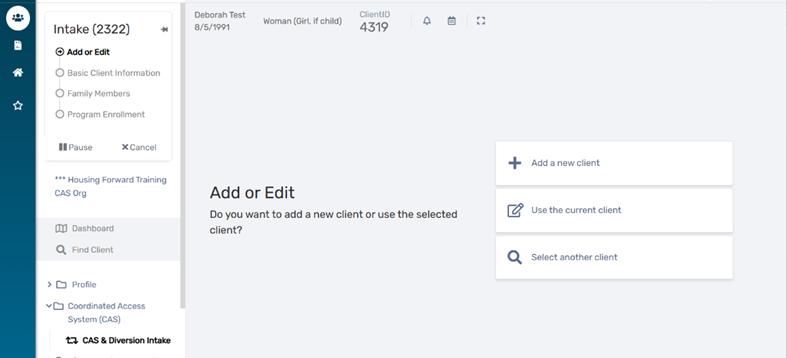
6. Choose the appropriate intake option depending on whether you find an existing record in your Find Client search (Step 3 above).
(a) Existing Client Record: Choose Use the Current Client
(b) No Existing Client Record: Choose Add a New Client
Avoid the “pause” or “cancel” buttons on the Workflow Progress Bar.If you realize you are recording the workflow in error, you can record “Data Not Collected” for all fields, submit the workflow, and either edit or request deletion of the workflow as needed.
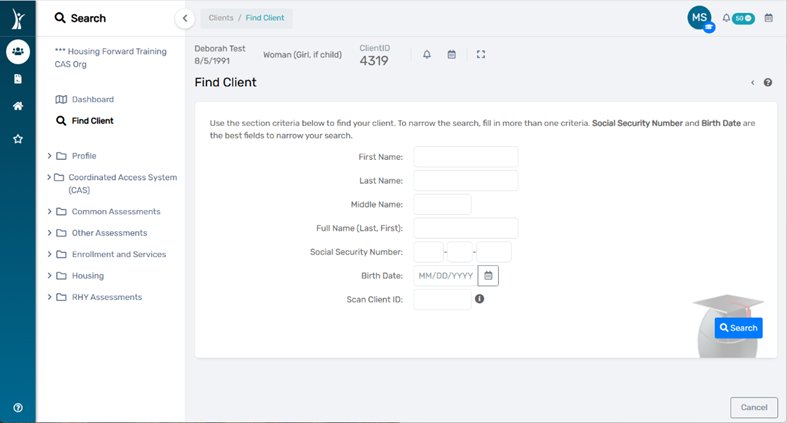
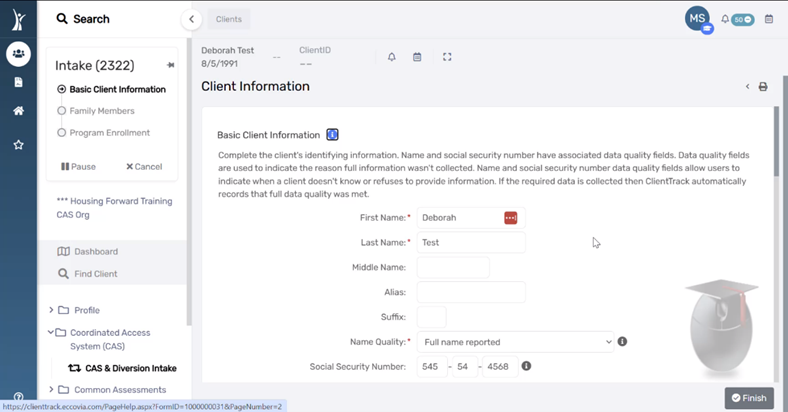
7. Enter the client’s identifying information in all required fields.
Name and Social Security Number have associated data quality fields. Data quality fields are used to indicate the reason full information wasn’t collected. If the required data is collected, ClientTrack automatically records that full data quality was met.
Race & Ethnicity and Gender are multiselect fields. Select all that apply according to the client’s self-reported information.
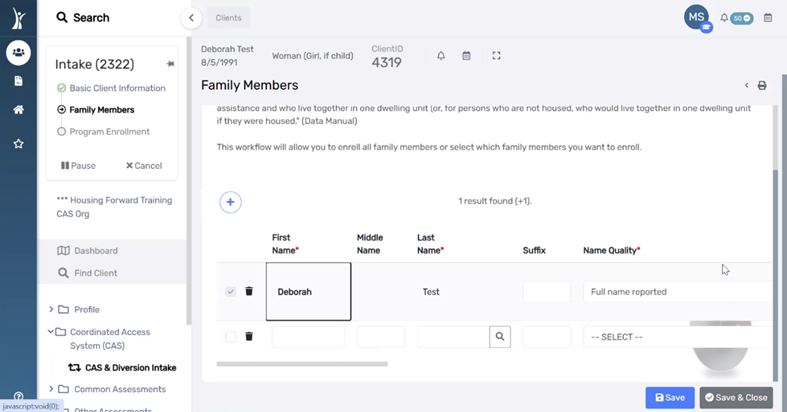
8. Enter or confirm the identifying information all family members in the client’s household.
For clients with existing HMIS records, any associated family members with an existing HMIS record will display.
You may search for existing clients to add to this family or add new clients to the database and associate them with this family.
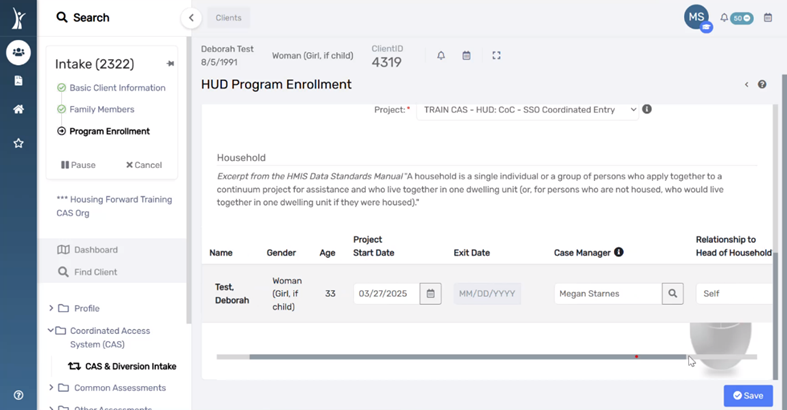
The next page of the workflow (HUD Program Enrollment) will allow you to enroll all family members in the household or select which family members are enrolling into the project.
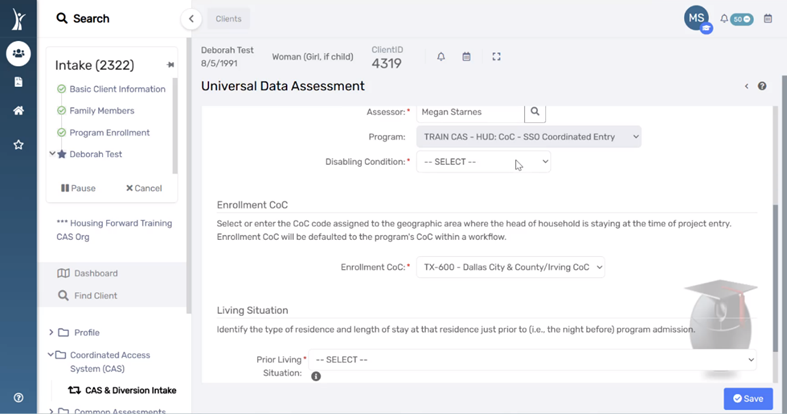
10. Record answers for Disabling Condition and Prior Living Situation according to the client’s self-reported information.
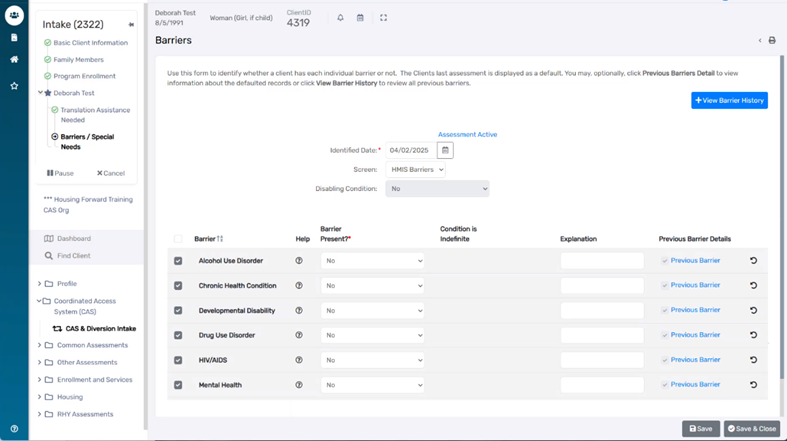
Disabling Condition will indicate whether the client has any of the conditions on the Barriers list (full list below). Items with (*) must be considered indefinite and impacting housing to be considered as a Disabling Condition.
Alcohol Use Disorder*
Chronic Health Condition*
Developmental Disability
Drug Use Disorder*
HIV/AIDS
Mental Health*
Physical Health*
Prior Living Situation will display all answer options specified in the HMIS Data Standards Manual.
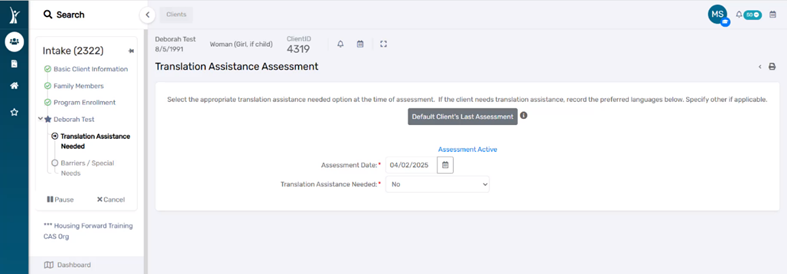
11. Select the appropriate Translation Assistance Needed option at the time of assessment. Specify “Other” if applicable and enter the client’s language of preference.
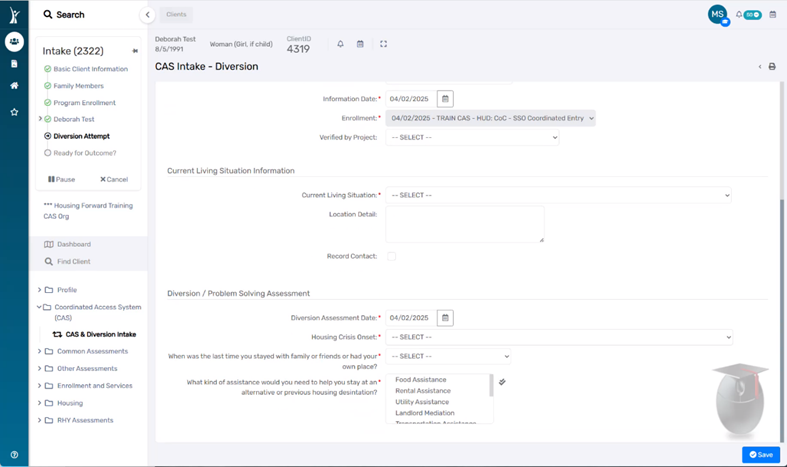
13. Record Current Living Situation and answers to the Diversion / Problem Solving Assessment.
Diversion / Problem Solving Assessment answers general questions about the client’s current housing crisis. Note that these fields are intended to track specific information and should not be treated as as a script.
Diversion Assessment Date
Housing Crisis Onset
When was the last time you stayed with family or friends, or had a place on your own?
What kind of assistance would you need to help you stay at an alternative or previous housing destination?
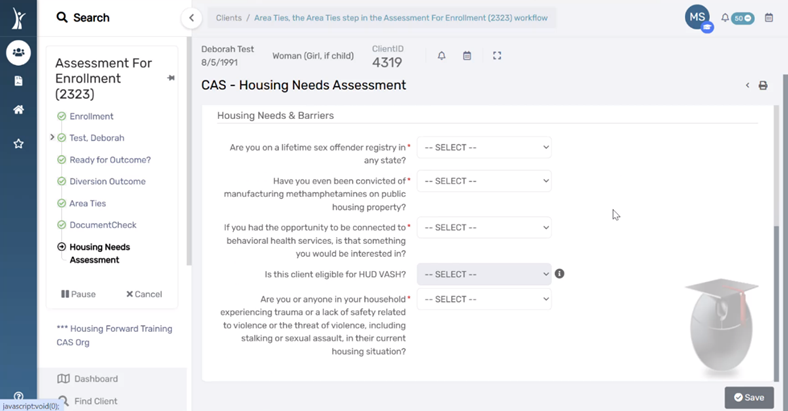
17. Answer all questions on this page using information from any Triage, Intake, and HPS conversations with the client.
Housing Needs & Barriers
Are you on a lifetime sex offender registery in any state?
Have you even been convicted of manufacturing methamphetamines on public housing property?
If you had the opportunity to be connected to behavioral health services, is that something you would be interested in?
Is this client eligible for HUD VASH? *This question will only be editable for veteran service providers.
Are you or anyone in your household experiencing trauma or a lack of safety related to violence or the threat of violence, including stalking or sexual assault, in their current housing situation?
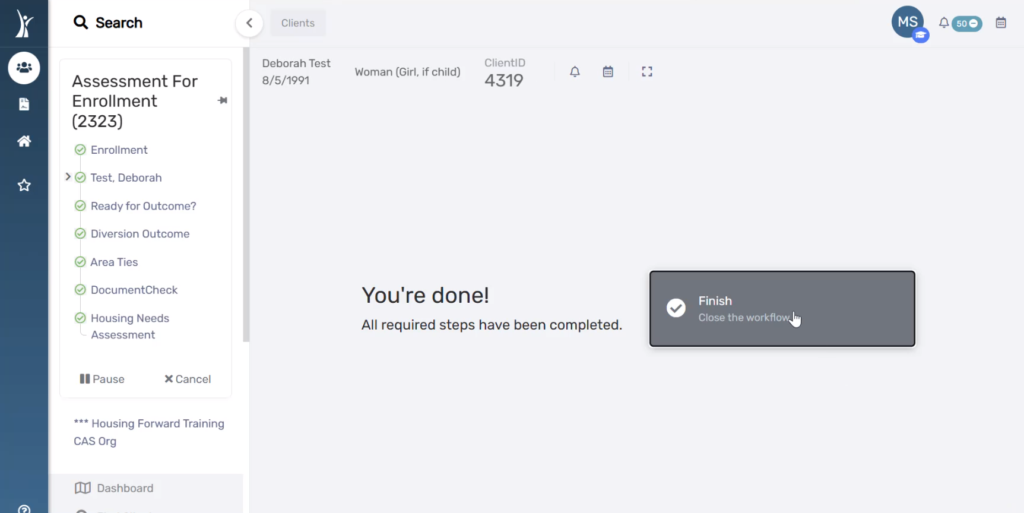
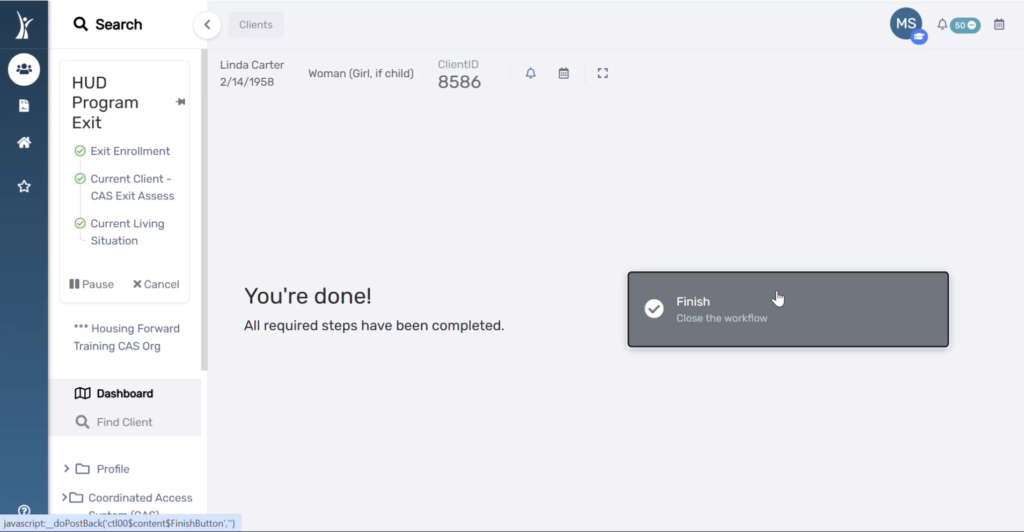
18. Click the Finish button to close the workflow.
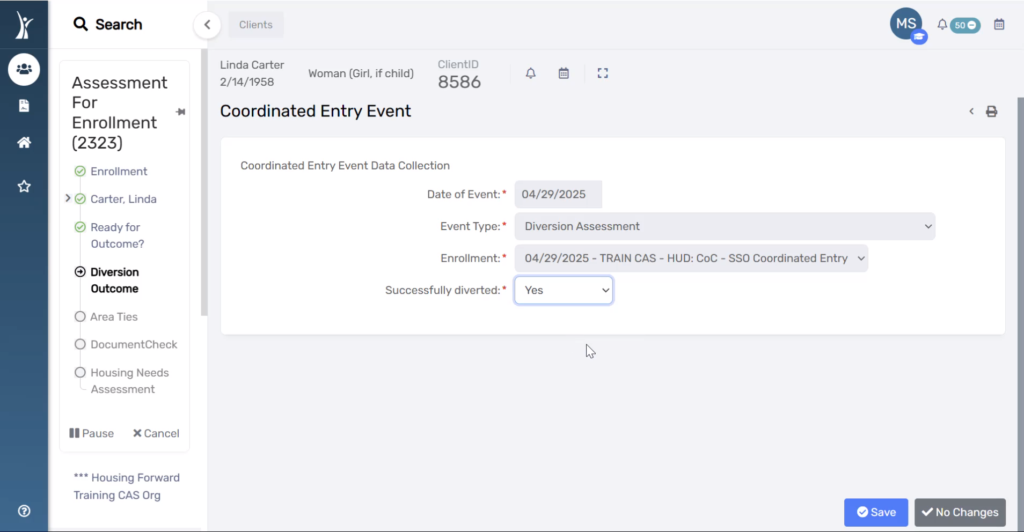
CAS Exit Assessment Workflow for Successful Diversion #
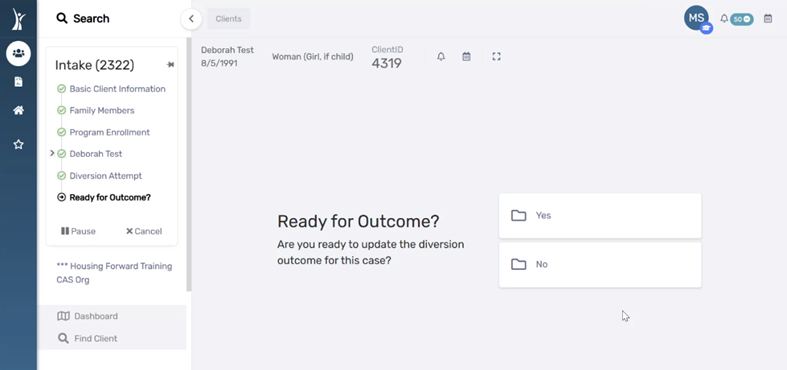
You will be immediately prompted to complete a CAS Exit assessment if you selected “Yes” to “Successfully Diverted” in Step 14, meaning the household was successfully diverted and no longer needs CAS services.
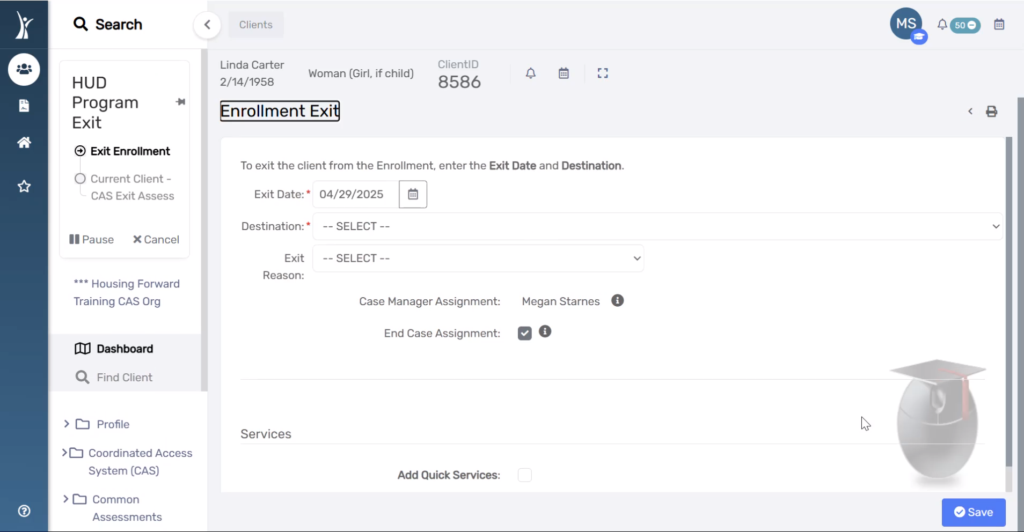
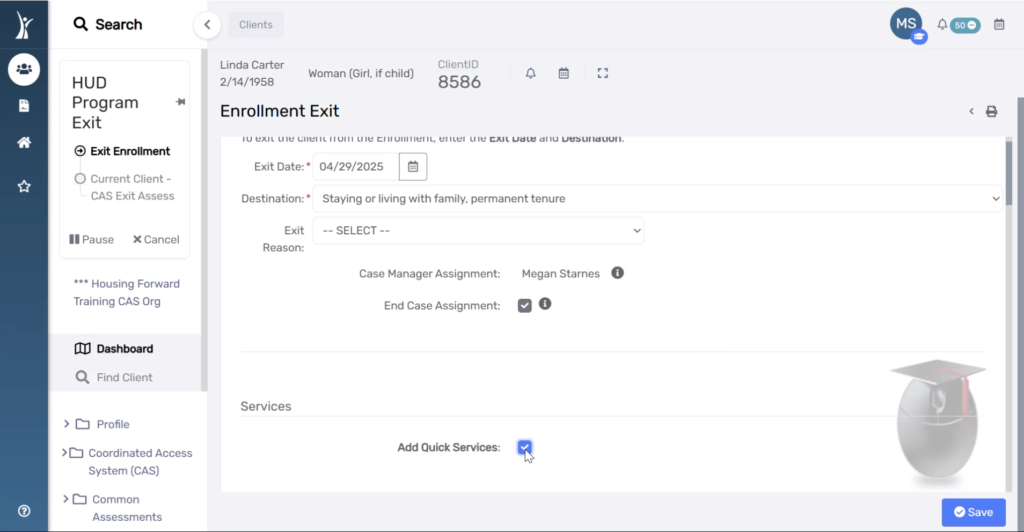
Exit Assessment & Diversion Services Page
1. Enter the appropriate Exit Destination.
2. Check the box to End Case Assignment. This removes the neighbor from your Active CAS Caseload
3. Check the box to Add Quick Services. A service is required for CAS Exits resulting in a successful diversion.
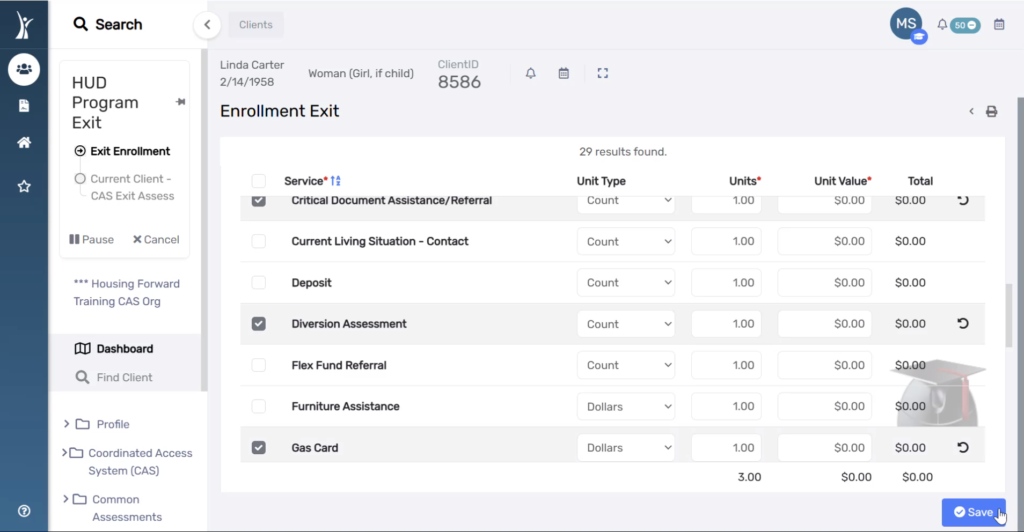
4. Select any service provided that contributed to this successful diversion. Note the option for “Successful Diversion Other” if you do not see the specific service you provided in the list.
If you choose “Successful Diversion Other” as the service provided, please record a Case Note detailing the service that led to successful diversion.
Fields on this page default and do not need to edited, except in the case of back-data entry. Select Save to continue to the next page of the workflow.
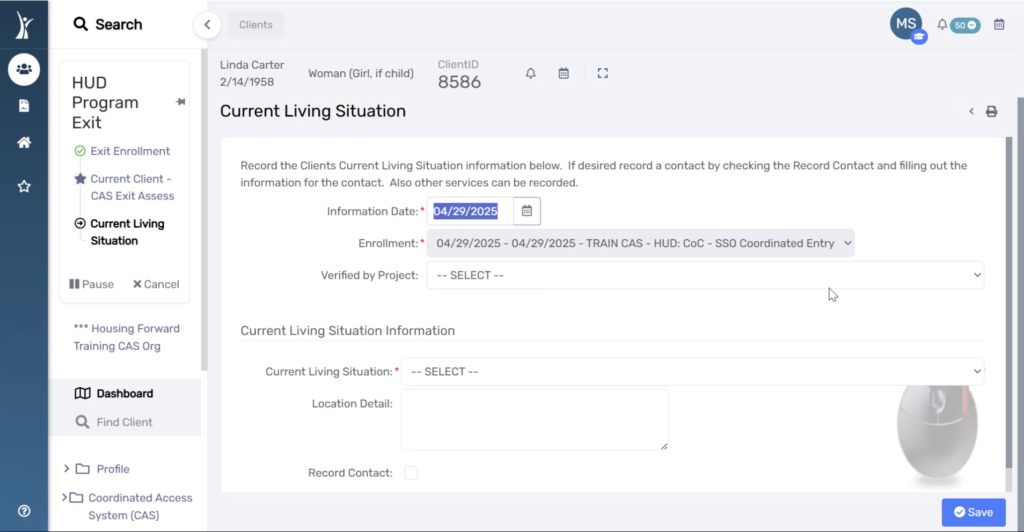
You will see this field again in the workflow to record the data in association with the Exit Assessment. Choose the living situation that corresponds to their Exit Destination.
Confirm the Information Date
Record if the Current Living Situation was reported by a different project
Record the Current Living Situations
NOTE: Some responses may produce additional required questions. Answer all questions that appear in response to recording Current Living Situation.