As a best practice, family members should be added to a clients’ household when the Head of Household’s (HoH) initial HMIS record is created. This occurs simultaneously with the HoH’s first intake assessment.
However, there are scenarios where a family member may need to be added to household after the initial record creation of the HoH:
Note that if the family member will be participating in your program and receiving any services, they should be added to the project enrollment with their own project start date.
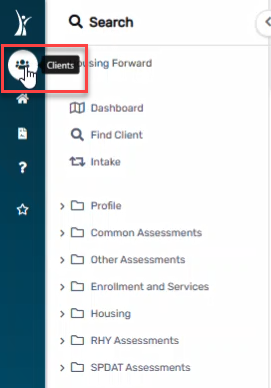
1. Log into ClientTrack and navigate to your Clients Workspace. Find your Head of Household (HoH) in the system.
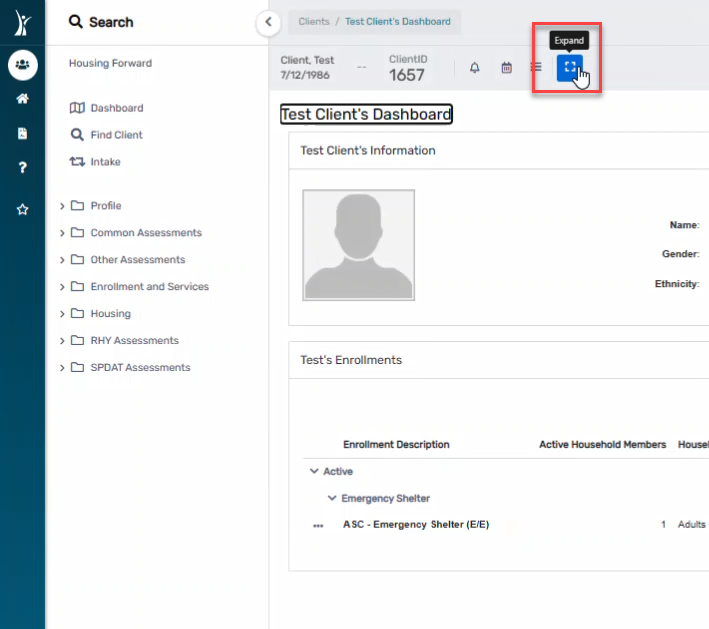
2. From the HoH’s Dashboard, next to the ClientID there four icons – click on the “expand” icon (the 4th icon).

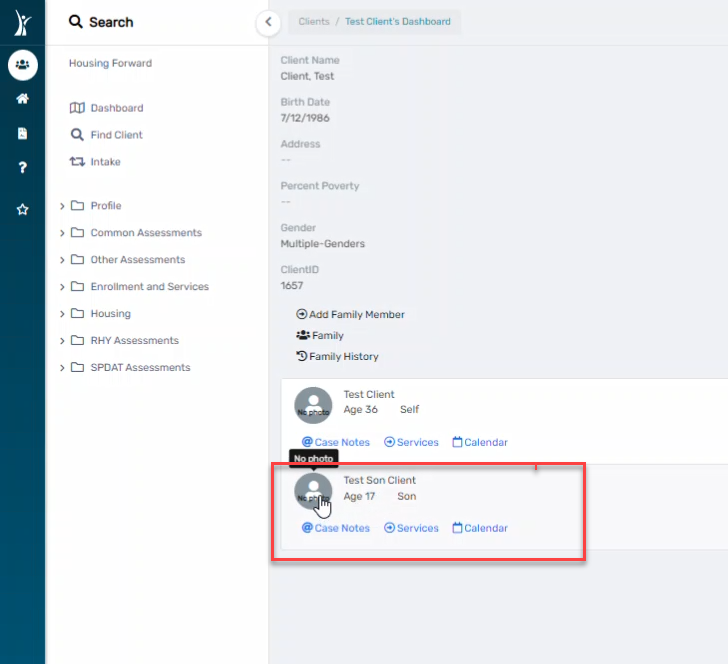
3. Click Quick Add Family Member.

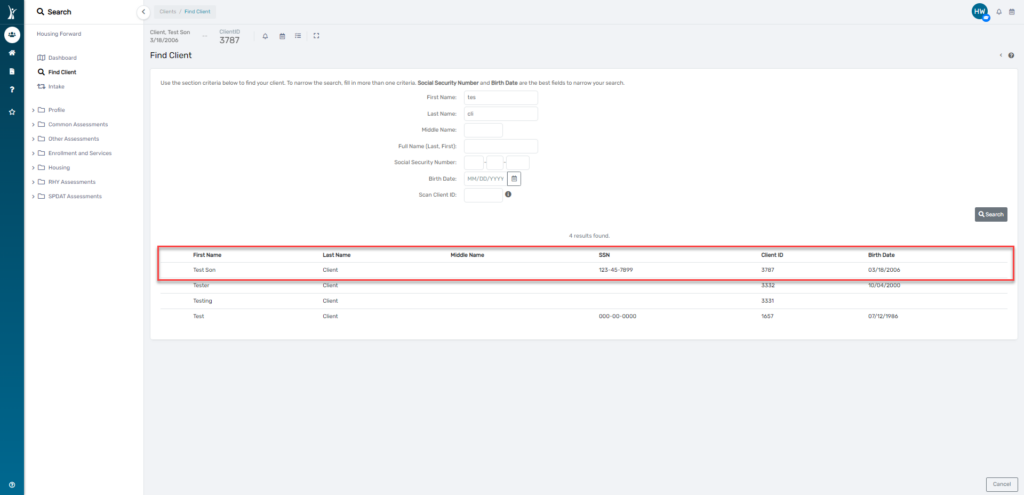
4. Search for the family member to ensure you are not creating a duplicate client, using the first 3 letters of the client’s first and last name.
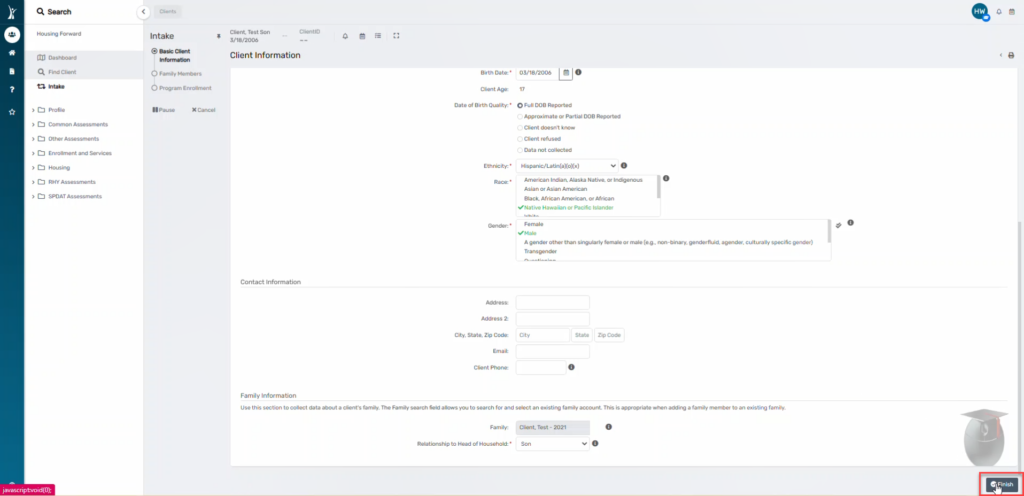
5. Enter the client’s basic information, then click Finish. Be sure to complete all required fields per the HMIS Data Standards.

6. Continue to the next section of this cheat sheet to add the family member to the HoH’s existing enrollment if the new family member will be enrolling in the program or receiving services.
1. Navigate to the Head of Household’s (HoH) Dashboard by clicking the Household icon and selecting the Head of Household, or searching for the Head of Household using Find Client.
2. Click the action menu for the HoH’s enrollment in your program. Then click Edit Project Entry Workflow.

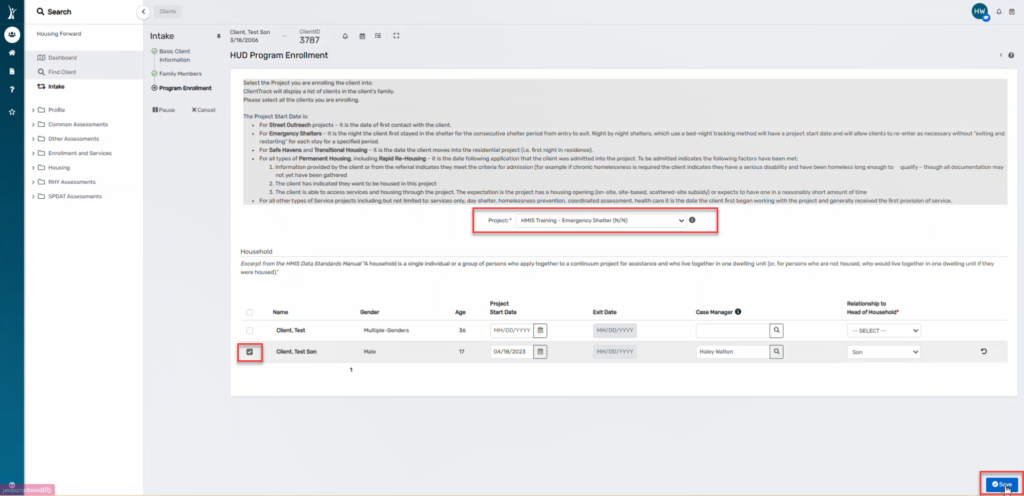
3. Continue through the Basic Client Information and Family Members pages, confirming all information is correct. On the HUD Program Enrollment Page, check the box next to every family member who should be enrolled in this program. You will see your new family member here and should check the box next to their name. Confirm their Project Start Date or backdate it accordingly. Then click Save.

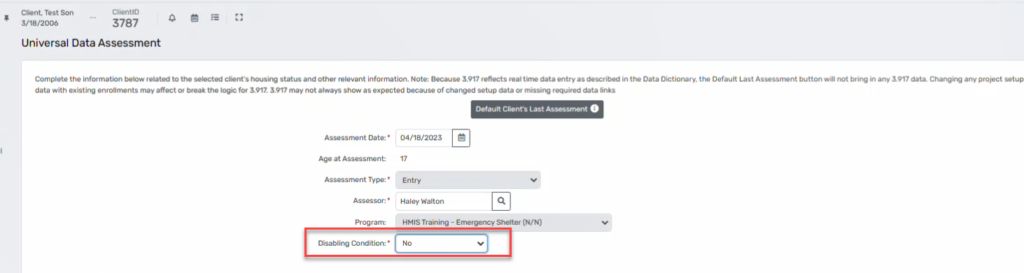
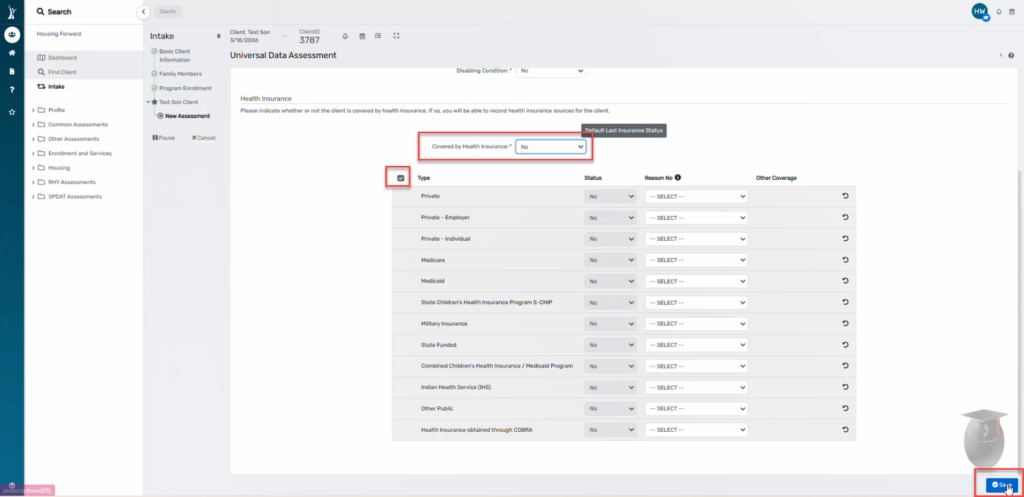
4. Continue through the entire assessment workflow. Confirm all data entered for existing family members, using Save & Close or No Changes until you get to the new family member’s pages of the workflow. Complete all required data elements and assessment pages for the new family member.

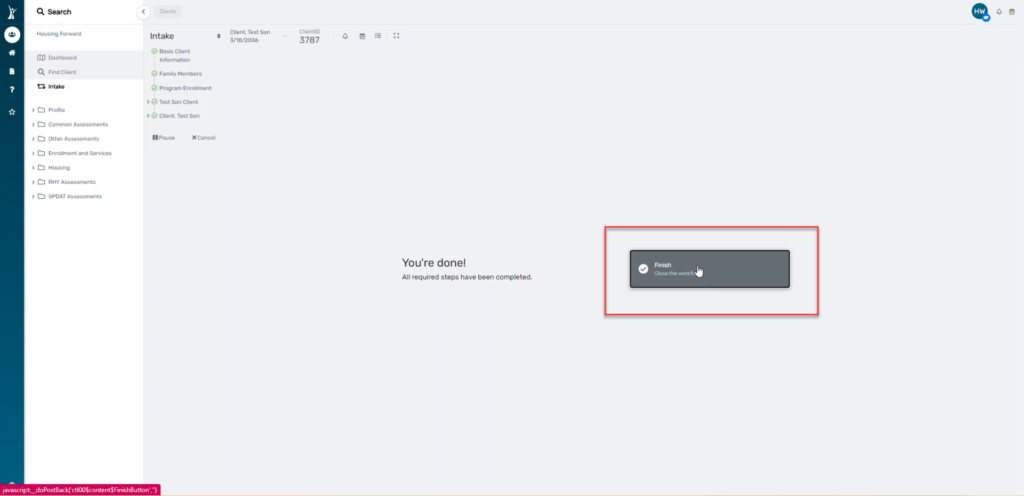
5. Click Finish to close your workflow.

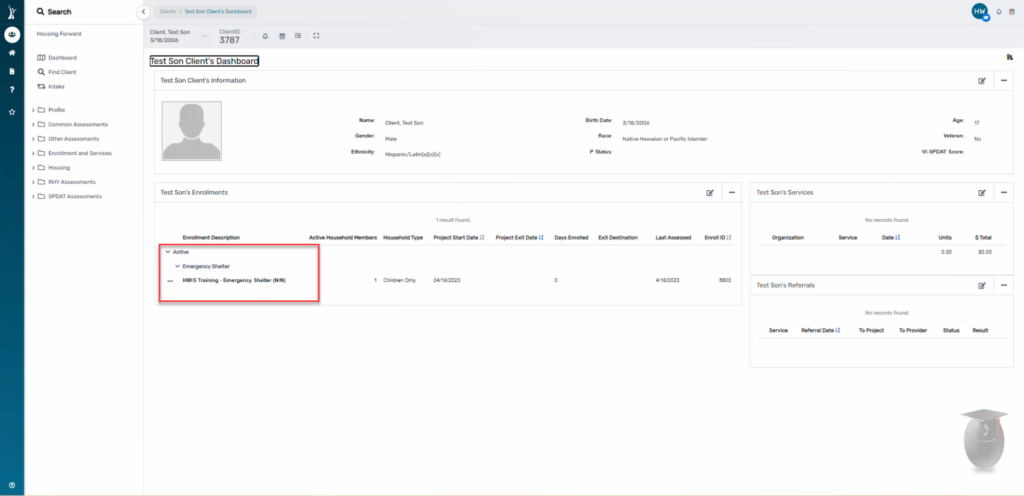
6. Confirm the family member’s enrollment in the program by navigating to their Dashboard and looking at their enrollments.

If you have incorrectly recorded a client’s Head of Household (Hoh) status, you can correct the error using an Edit to the Project Entry Workflow, or entry assessment. You will need to change the status for both the client who should be the head of household and the client who was accidentally marked as head of household in error.
The images below show where in the workflow to make these specific edits. If you are unsure how to begin an edit to the entry assessment, please see our Edit Entry Workflow cheat sheet.
It is important that this edit is done from the entry workflow, because the data standards sometimes require different questions for the head of household than they do for adult family members who are not head of household.
Finally, remember that, with very few exceptions for RHY programs, minor family members cannot be the head of household. The system will not allow you to change the head of household to a minor family member.
1. Begin the edit to the entry workflow.
2. On the Basic Client Information page, scroll down and change the Relationship to Head of Household to the correct option (not Self) for the family member who was accidentally marked as HoH. Click Finish to continue.

3. On the Family Members page, find the client who should be marked Head of Household. Scroll to the right and change Relationship to Head of Household to Self. Confirm that the client who was marked as the HoH still has the new status you edited in step 2. Click Save & Close to continue.

4. On the HUD Program Enrollment page, you will also need to change the clients’ Relationship to Head of Household to match what you recorded in steps 2 and 3. Click Save to continue.

5. You should see that the workflow progress bar has updated to list your new Head of Household first. This is one way to confirm that your changes have been saved. Continue through the rest of workflow, answering all new questions for the new head of household.
6. Complete the entire workflow and click Finish to close the workflow.
7. Next to the ClientID there four icons – click on the “expand” icon (the 4th icon) and confirm the Relationship to Head of Household is correct for all clients in the household.

To record an Entry Assessment for a client, be sure you are on the Clients Workspace.
a. Searching for the Head of HouseHold and selecting a family member.

b. Searching directly for client.
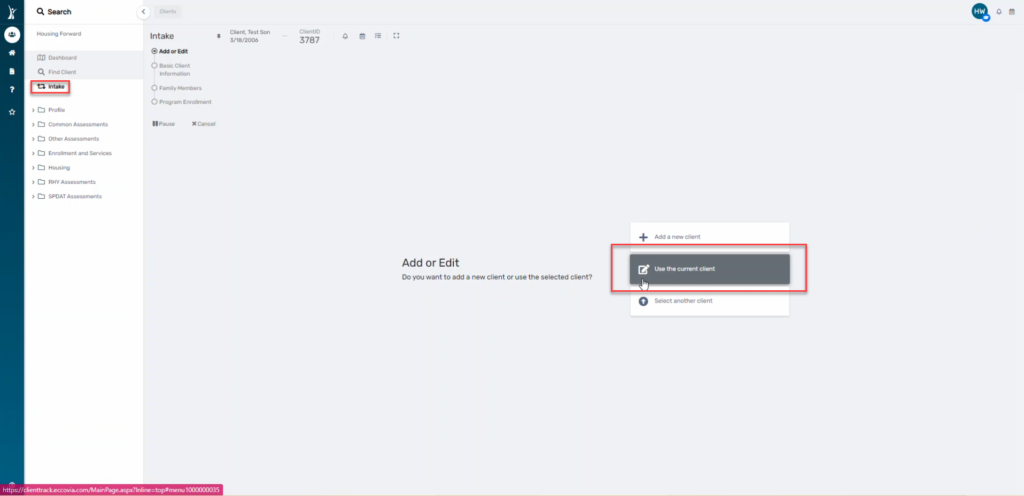
2. On the client’s dashboard, click Intake. This will start a workflow. Click “Use the Current Client”
3. Continue through the pre-populated (from creation of client) client information, confirming as you go and changing if needed.
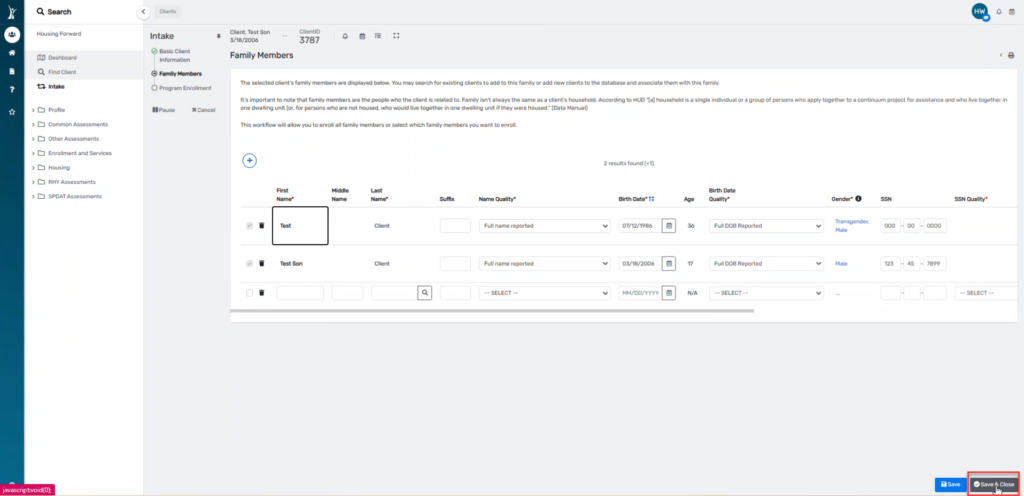
NOTE: All family members will appear on this screen because they are currently connected. Simply save and close.
4. Select the Project for which the client will be enrolled in from the dropdown box. Check the box next to the family member you are enrolling.
5. Record all information for the client.
6. Click Save.
7. You will come to the end of the workflow. Click Finish.
Confirm that you see the enrollment on the client’s dashboard.