As a best practice, family members should be added to a clients’ household when the Head of Household’s (HoH) initial HMIS record is created. This occurs simultaneously with the HoH’s first intake assessment.
However, there are scenarios where a family member may need to be added to household after the initial record creation of the HoH:
Note that if the family member will be participating in your program and receiving any services, they should be added to the project enrollment with their own project start date.
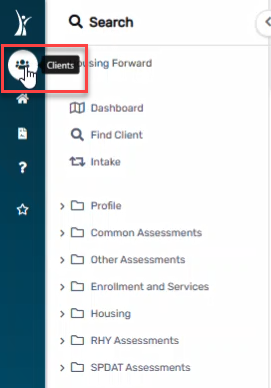
1. Log into ClientTrack and navigate to your Clients Workspace. Find your Head of Household (HoH) in the system.
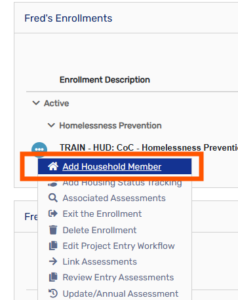
2. From the HoH’s Dashboard, select the Action Buttons (three dots) next to the enrollment, and select Add Household Member.
3. Select an open slot and input the name of the new family member.
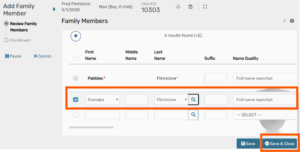
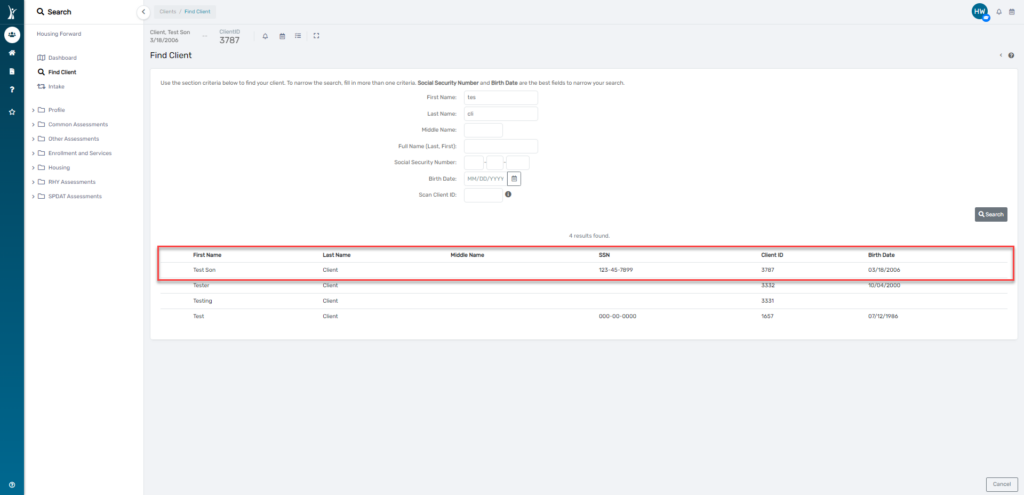
4. Search for the family member to ensure you are not creating a duplicate client, using the first 3 letters of the client’s first and last name.
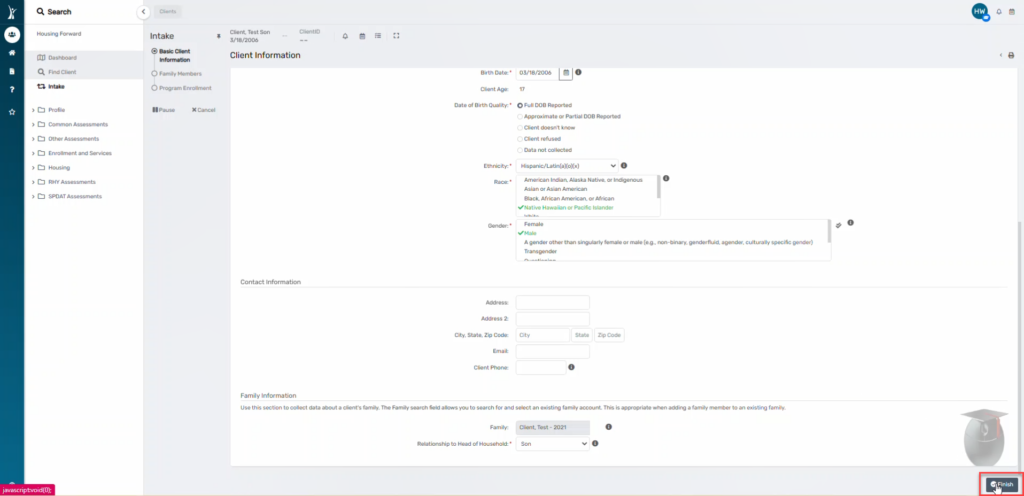
5. Enter the client’s basic information, then click Finish. Be sure to complete all required fields per the HMIS Data Standards.
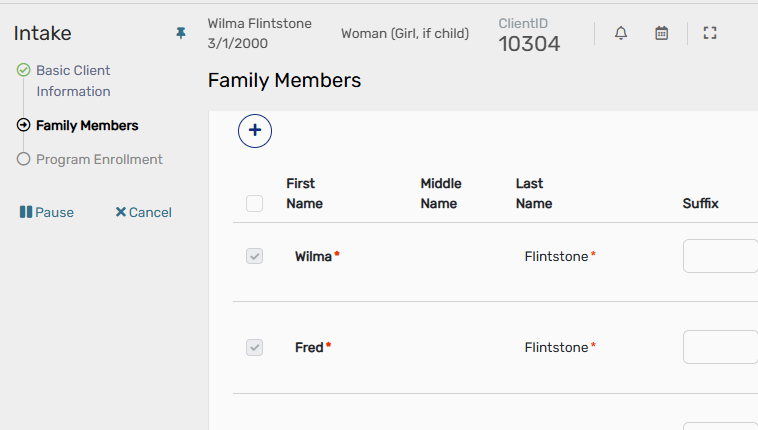
6. Select the new family member by checking the box next to their name. Proceed through the enrollment screens and save the new family member’s selections.
For instances in which the Head of Household must be changed, please follow the steps outlined below.
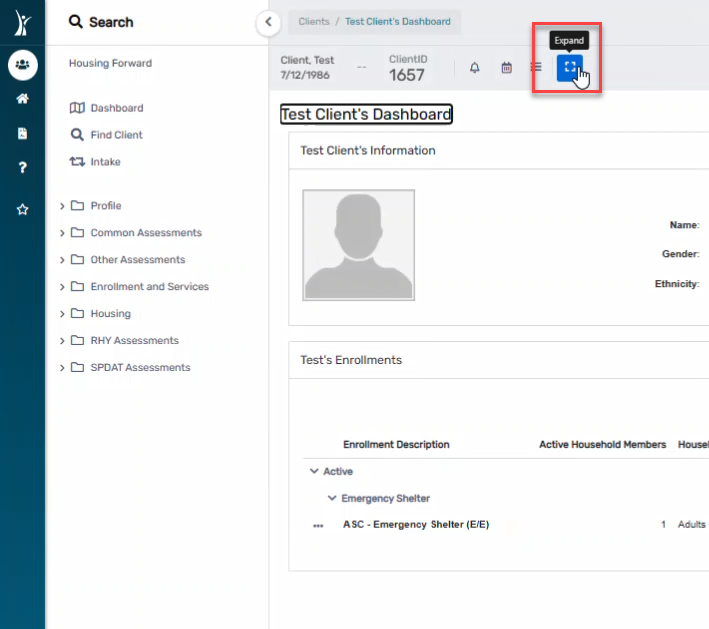
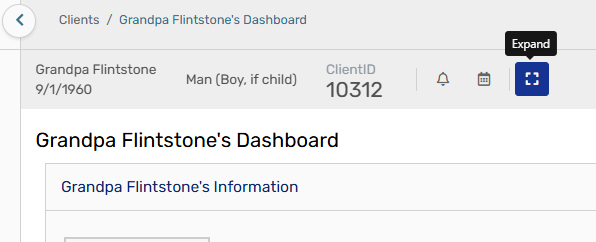
Select the Expand button to see current family setting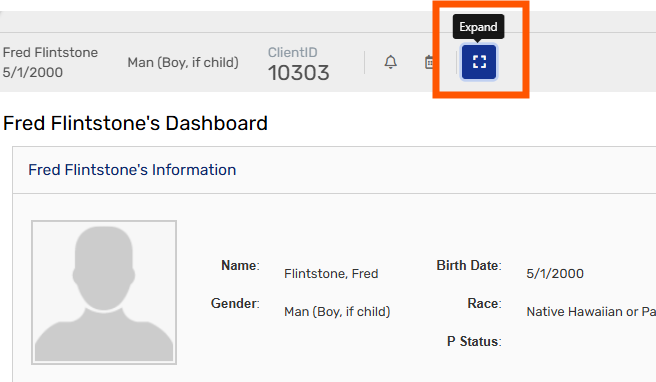
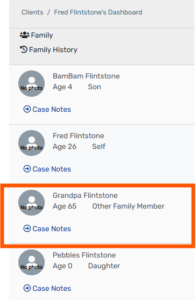
Currently, Fred is the HoH and Wilma is the Spouse. 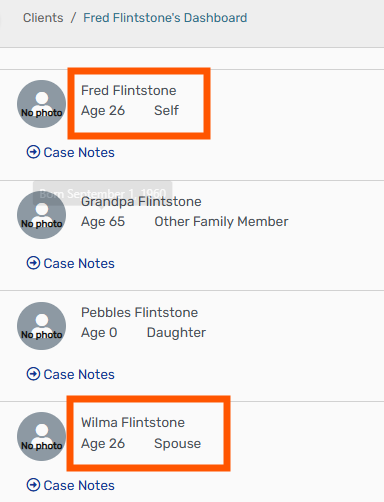
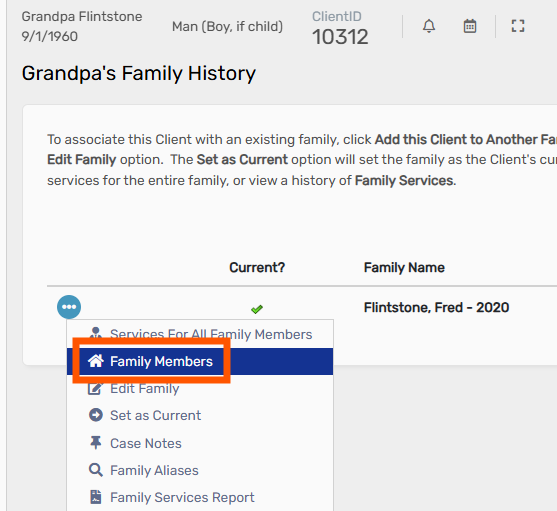
To make this change, select Family History
On the Family History page, select Family Members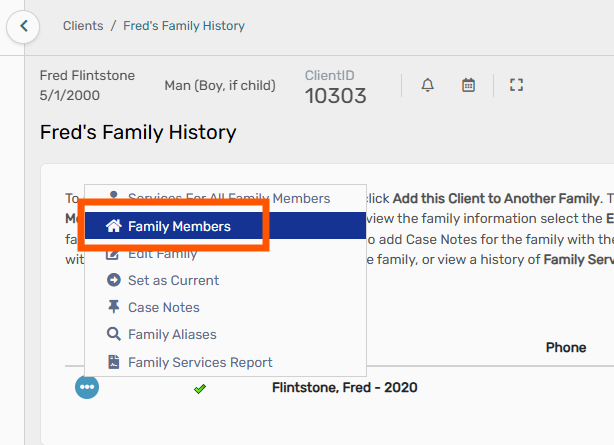
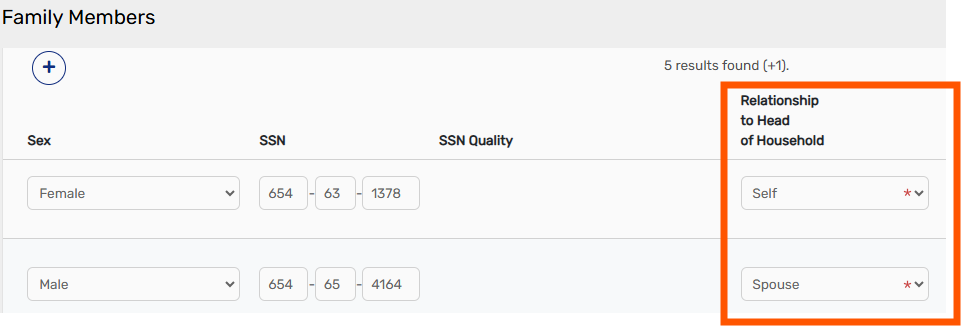
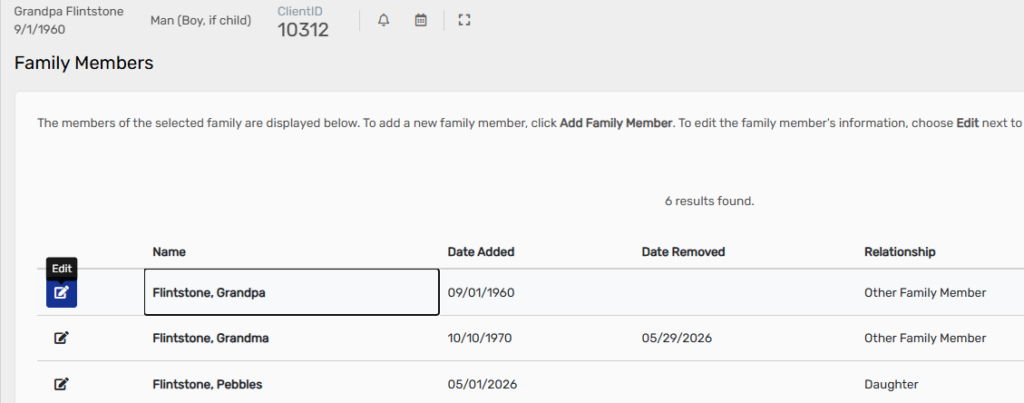
On the Family Members page, we see that Fred is listed as the HoH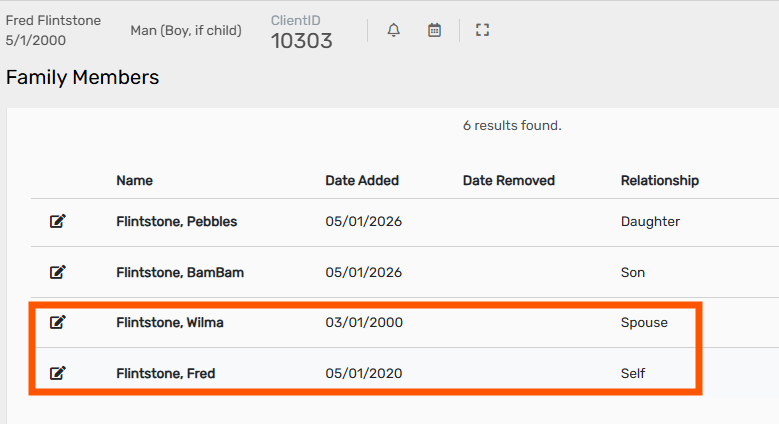
To change this, select the Edit button for Fred to change him to spouse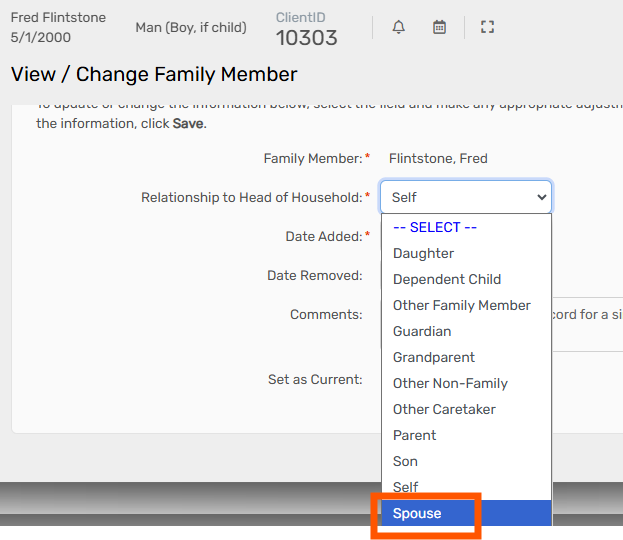
Select Set as Current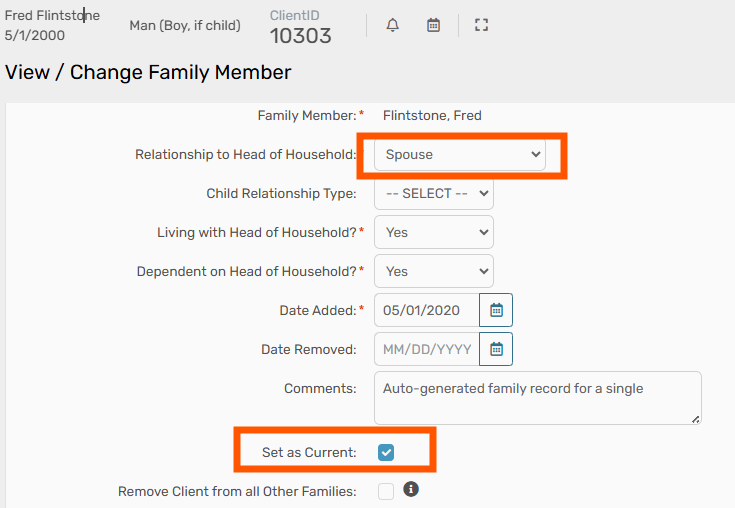
Next, change Wilma to be the HoH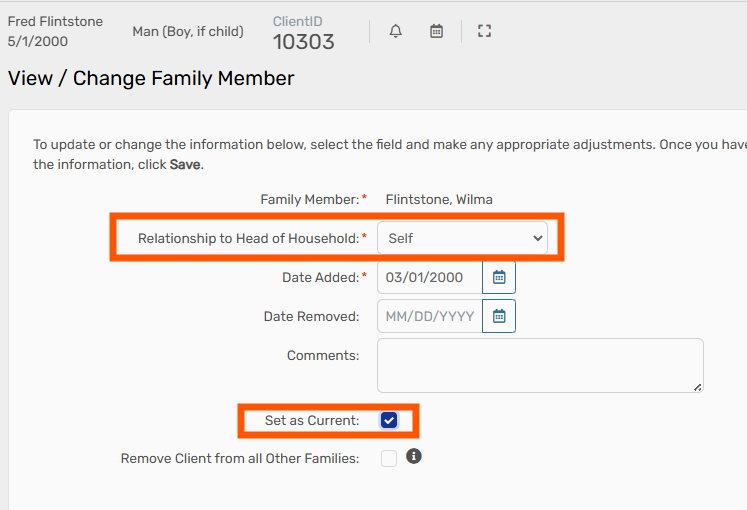
Visit the Family Members page to see the changes made
On the new Head of Household’s Dashboard, select Edit Project Entry Workflow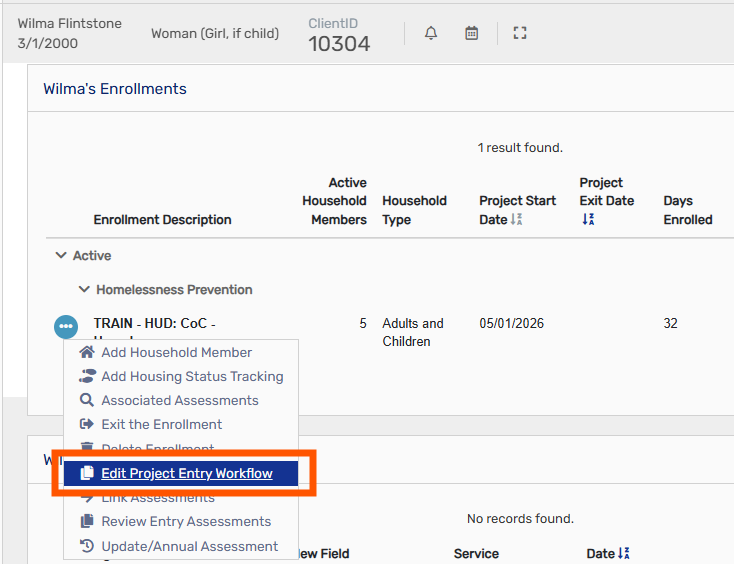
Here we see that the HoH is now Wilma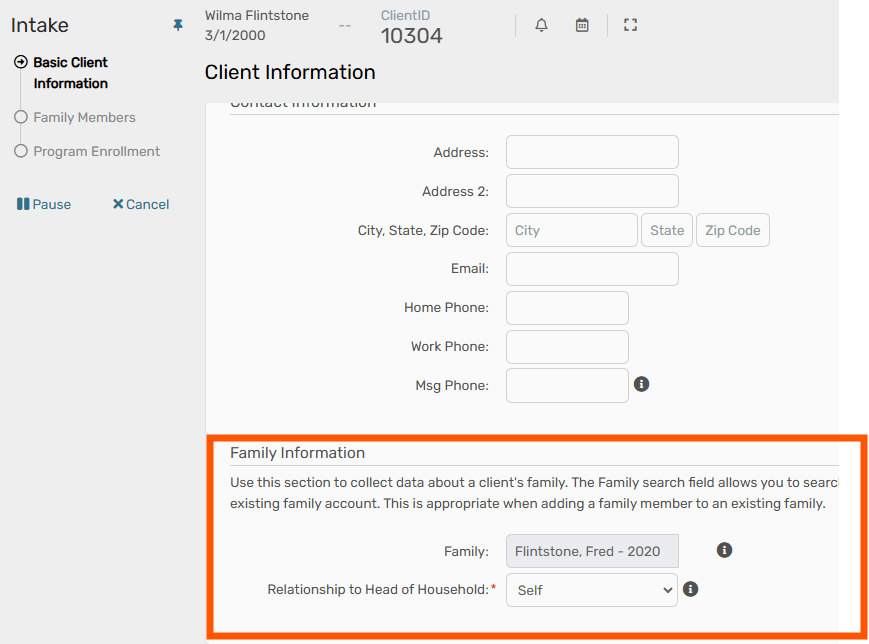
On the Family Members page, double check that the HoH is correct
Verify that the HoH for the HUD Program Enrollment is correct, and update if needed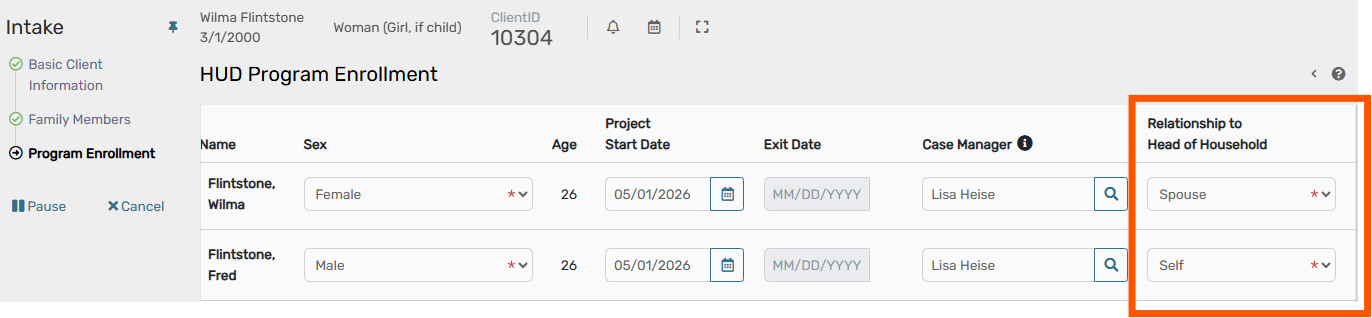
Updated HoH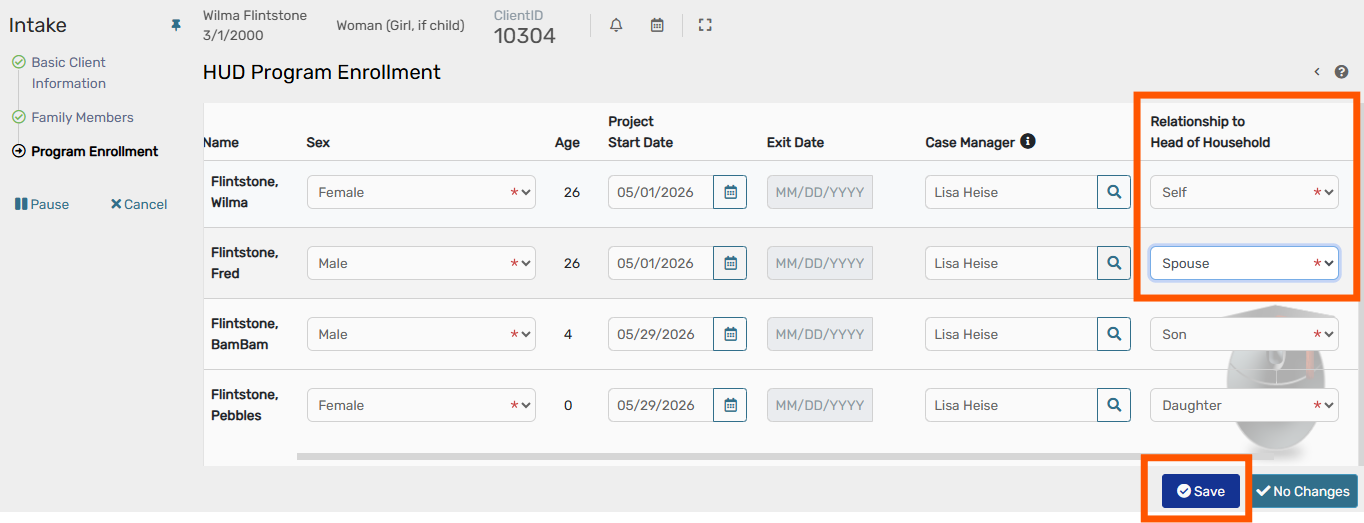
Continue through the workflow, saving along the way
To record an Entry Assessment for a client, be sure you are on the Clients Workspace.
a. Searching for the Head of HouseHold and selecting a family member.

b. Searching directly for client.
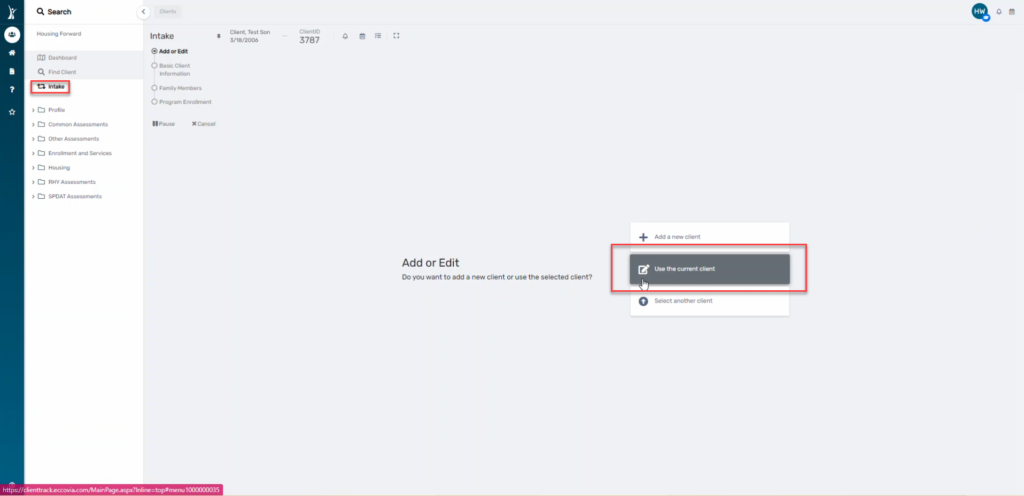
2. On the client’s dashboard, click Intake. This will start a workflow. Click “Use the Current Client”
3. Continue through the pre-populated (from creation of client) client information, confirming as you go and changing if needed.
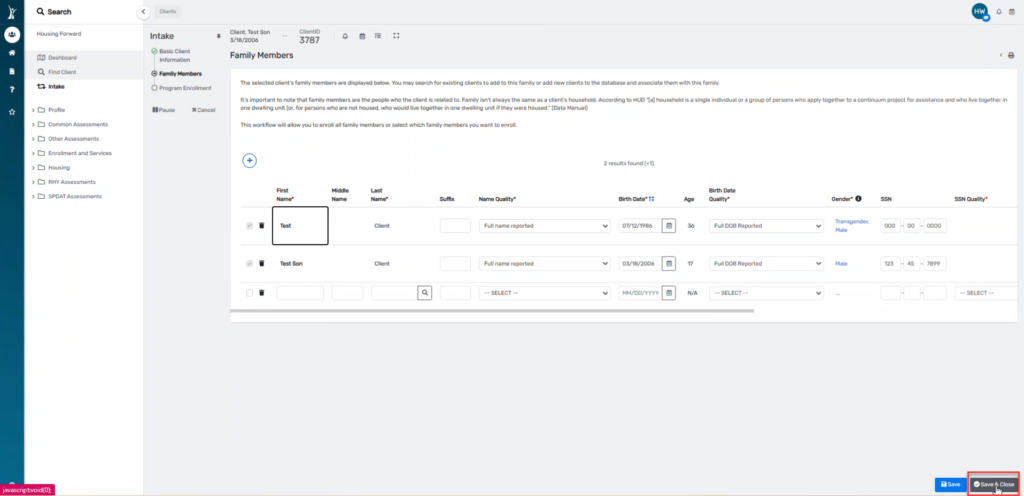
NOTE: All family members will appear on this screen because they are currently connected. Simply save and close.
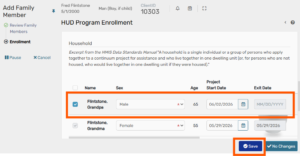
4. Select the Project for which the client will be enrolled in from the dropdown box. Check the box next to the family member you are enrolling.
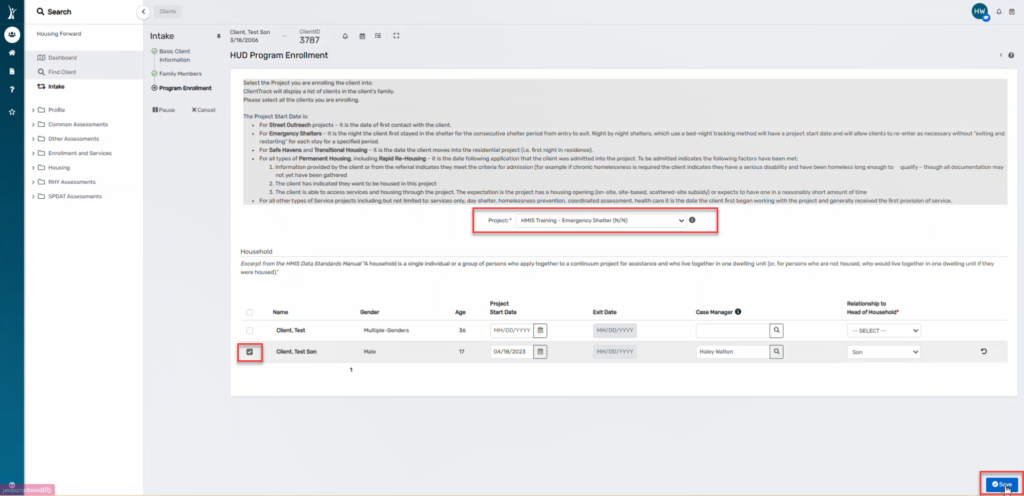
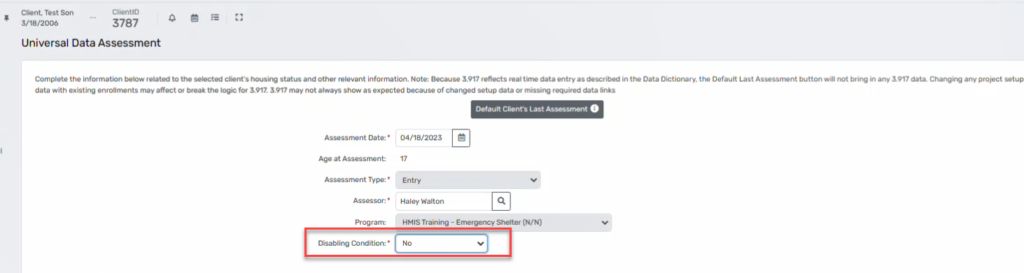
5. Record all information for the client.
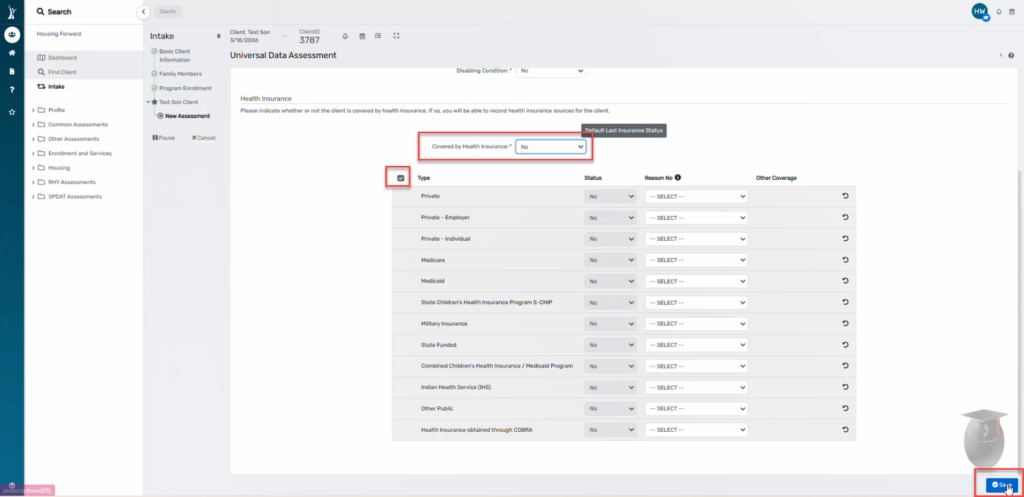
6. Click Save.
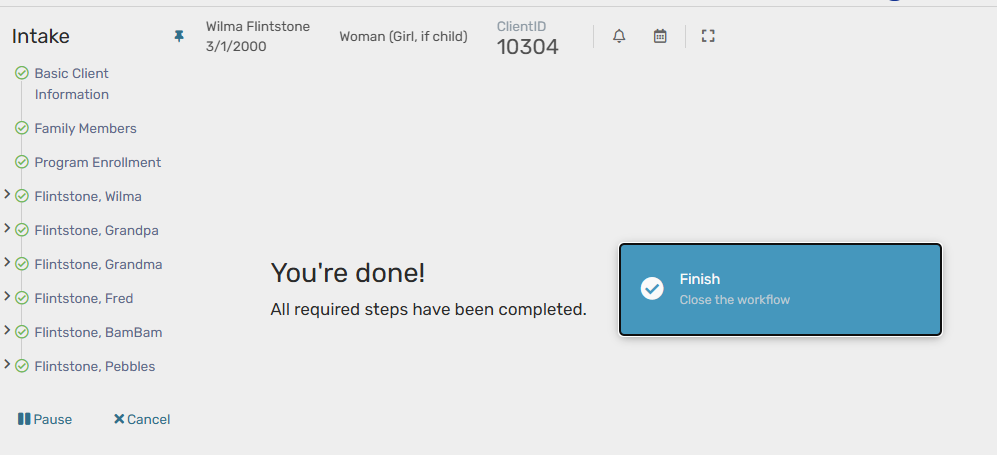
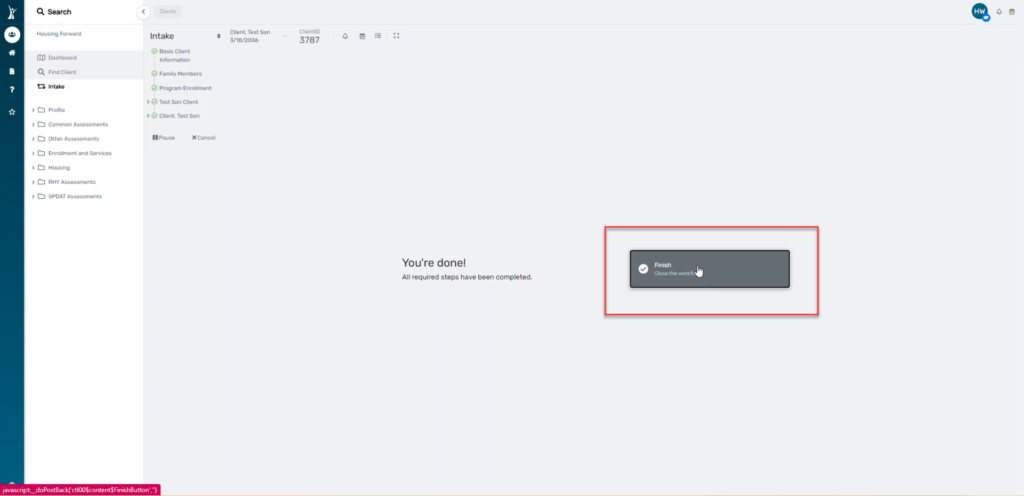
7. You will come to the end of the workflow. Click Finish.
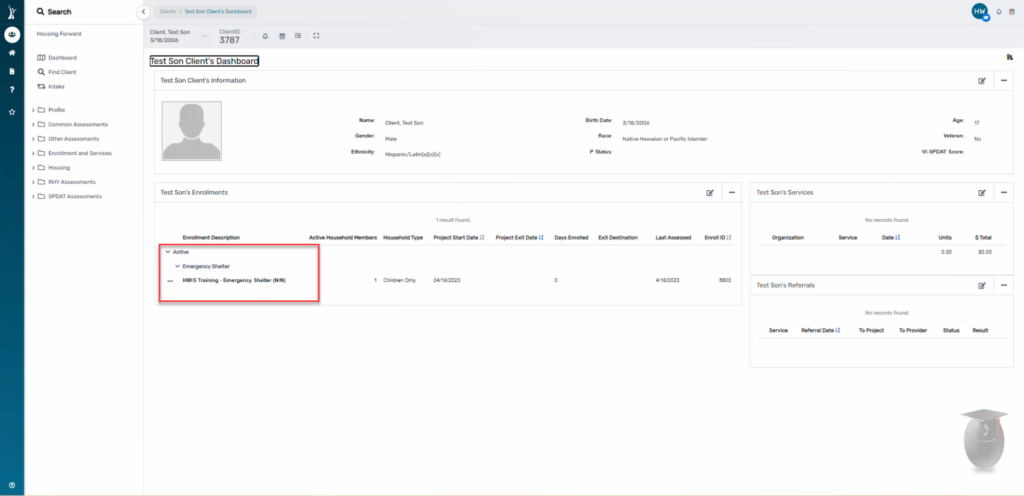
Confirm that you see the enrollment on the client’s dashboard.
The first step in removing a family member is to remove them from any family enrollments. This could be an exit or a removal (via a request to the help desk).
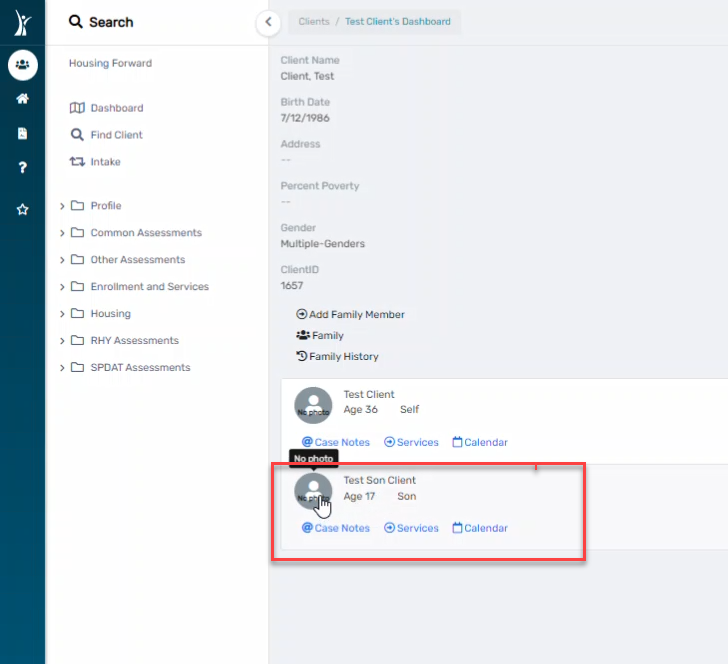
After that is complete, select “Expand” on the Family Settings button
Next, Select Family History

Next, select Family Members
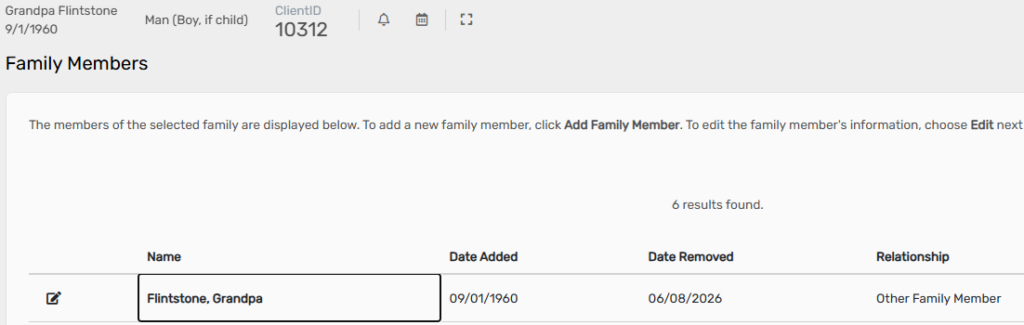
Edit the family member that must be removed
Enter any necessary information, and add an Date Removed
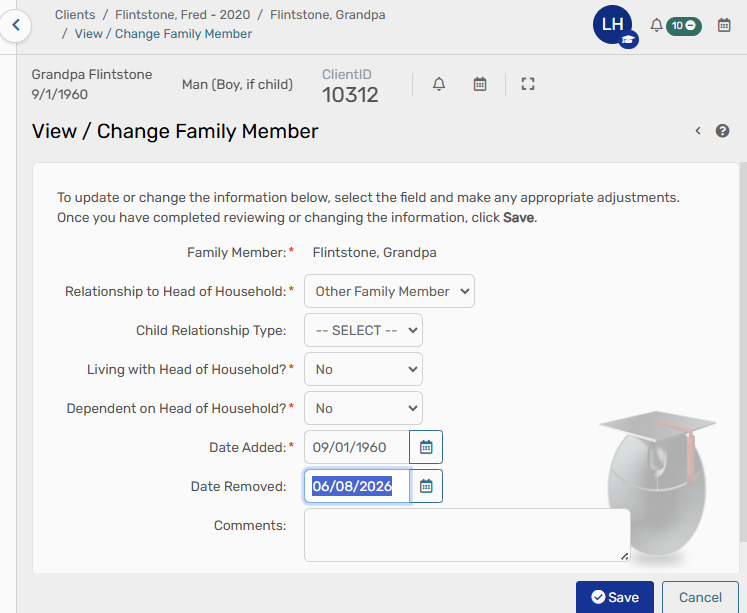
Now you will see a Date Removed for the family member separated